
After the starting cutscene turn on your Portal of Power by pressing down on the top, place a Skylander on the portal and aim your 3DS infrared port at the infrared port of the portal. Keep them lined up until the Skylander loads into the game and then repeat the process for a second Skylander (except turning it on, it should still be on).
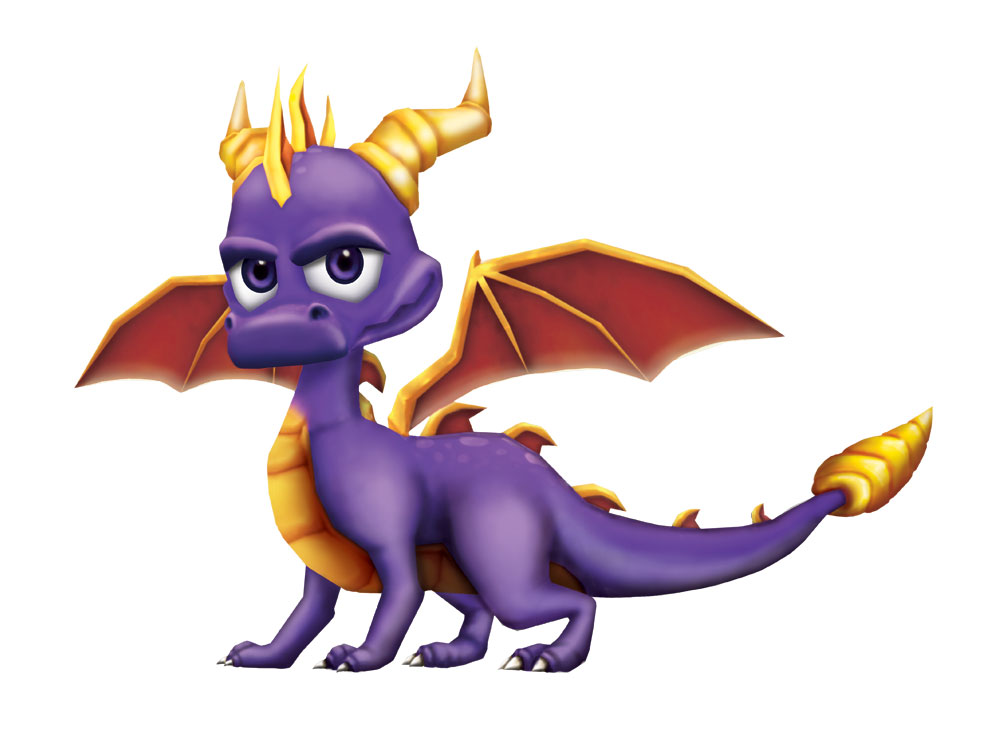
The game comes with an Air Trap Master called Gusto and a Life Mini Skylander called Barkley but so long as you have two Skylanders (of any size or element) you can play through the whole game. However to fully complete the game's many challenge requirements you will need one Skylander (of any size) from each of the ten elements (Light and Dark are unavailable at the time of writing) including one Trap Master (the element doesn't matter).
Eternal Archives
Directly in front of you is where you can load even more characters into the game, it's as good a time as any to get one of each element in your collection. Unlike the console versions you only need one Trap Master in order to smash open Traptanium Crystals, all Skylanders of the matching element can open Elemental Gates on the 3DS.
Once you've loaded enough approach the large blue book door blocking the way. Go over the bridge and then up the steps next to the Warrior Librarian that wakes up, to wake up the two mabu just approach and press R. Go through the large red book on the left to reach a portal that will take you to the first real level.
Underhalls
Underhalls
| Level Missions | Level Challenges | Bonus Missions |
|---|---|---|
|
|
|
Go down the steps to see Boris Blisterbottom for the first time, this is a wanted Villain. You'll find one in each of the main levels, the time to capture them is usually right at the end of the level. Unlike the console versions you will not need any elemental Traps to capture them.
Anyway, carry on forwards and a book bridge will appear that you can use to cross to a sleeping mabu, he's sleeping on a pile of Skystones which is an indicator that he wants to play Skystones with you. If you haven't played the console version of Skylanders Giants then Skystones is a board game where you place tiles on a 3x3 board trying to capture tiles that your opponent owns, you achieve this by putting a tile with more spikes against an opposition's tile with fewer spikes along the touching side. Note that you cannot be taken over by a tile that is already placed even if they have more spikes along the adjoining edge than you. You take it in turns and are trying to get 5 or more of the board being your tiles by the end (8-1 being the best score you can get). Try to keep an eye on what edges are left vulnerable when you place a tile and the same for the edges on any tiles you capture (sometimes you may want to have multiple low count edges showing).
After beating him you'll be rewarded with a Skystone (Enfuego Chompy) that you can use in future Skystones battles, and speaking of future Skystones battles you can instantly give him a rematch to win a second Skystone (Drow Lance Master 2), then another rematch for a third (Chompy). You can continue to rematch him but he won't give any further Skystones.
Go down the slope to the right and smash through a bookcase blocking the path then over a book bridge to the first three Chompies, these are very weak enemies but are quick and numerous so don't get too complacent. Kill the three of them and then approach the shimmering  Treasure Chest 1/2 behind them. Press the R button and then tap the padlock on the touch screen to open the chest up for a few coins. To the right you'll find the first of the Nightmare Page 1/3 on a pedestal, these give you a bit of background to the villain of the level.
Further right is another book bridge which leads to a locked gate, to get the key you'll need to jump over some fallen pillars to the right and then step onto the blue bounce pad, that'll take you up to the key (kill the three Chompies around here). If you smash through the bookcase up here you can go up a slope to Nightmare Page 2/3. Now jump down and approach the gate to automatically open it with the key.
Just past the locked gate is a rune, picking it up with temporarily double the value of any gems you collect. At the top of the stairs go to the left (ignore the bookcase directly ahead) and you'll find Nightmare Page 3/3. If you smash a bookcase up here you'll find a present with ![]() Hat 1/2 behind, in previous games you got a specific hat when you opened a present (although didn't find out which until the end of the level) but in Trap Team the hat you get is completely random and you get it immediately (and you can refind the same present with a different random hat inside when you return to the level again). To open the present go up to it and press R, then shake it open by dragging your finger or stylus back and forth on the touch screen as indicated. Behind the other bookcase up here you'll find Treasure Chest 2/2.
Hat 1/2 behind, in previous games you got a specific hat when you opened a present (although didn't find out which until the end of the level) but in Trap Team the hat you get is completely random and you get it immediately (and you can refind the same present with a different random hat inside when you return to the level again). To open the present go up to it and press R, then shake it open by dragging your finger or stylus back and forth on the touch screen as indicated. Behind the other bookcase up here you'll find Treasure Chest 2/2.
Go back down and now up the right side to where there's an Air Elemental Gate. You don't specifically need a Trap Master to open Elemental Gates in the 3DS version, you can use any Air Skylander you like. The Gusto toy you got in the 3DS Starter Pack should more than do the trick here. There's a little mini-game joining the dots before you can go in but it already has the lines there for you to match.
Air Gate
Bounce up onto the curved path and then jump left onto a balloon then left again to another curved path. Follow that along over another balloon (which you'll need to double jump to reach) and again to another curved path. This one curves around to some platforms that are turning over slowly, jump over them and then bounce up to a straight path with a few moving rotating and flipping platforms along the way. Bounce up at the end and cross the final four flipping platforms to reach ![]() Hat 2/2 and the exit.
Hat 2/2 and the exit.
Back down the steps to the middle and smash through the bookcase, use the bounce pad behind the Warrior Librarian to get to the fight with Boris Blisterbottom. Boris has two attacks, one where he charges at you and attempts to bite you and another where he stands still, grows in size and then explodes. Avoid them both as you keep attacking him. Once his health is gone it's Capture Time! Simply follow the swirling vortex with your finger/stylus trying to match the speed exactly. Keep spinning until he's captured and you've rescued Wiggleworth.
After playing about with your captured villain press Done and then press the crossed swords icon at the top of the touch screen to summon him for an attack (you can also swipe upwards) You have no control over the villain when they're attacking but they should do a load of damage anyway. That'll finish off the Chompy challenge too as you exit the level.
The Time Challenge marker is completed when you return to the level and participate in a time trial version (and beat it within the time), everything else is possible to get on your first go through (grabbing the hats again on a second go through is essential for finding all of the collection).
Villain Bootcamp - Boris Blisterbottom
| Level Missions | Time Challenge | Bonus Challenge |
|---|---|---|
|
|
|
After capturing a villain you will unlock a Villain Bootcamp level where you get to play as them in one mission. This time is Boris Blisterbottom's turn and your task is to light some candles, eat a cake and then detonate next to a mabu statue. Go forwards and hold the X button as you circle around the cake lighting the "candles", once all six are lit you need to eat the cake with the Y button and then run over to the statue by the exit, get close and you'll explode and open the way forward.
The next room is much the same except that there is water along the right side which, if you want that third star, you'll want to avoid while carrying the cake, so go along the left side once you've picked it up. The room after that has a bit of a winding path, the third adds in moving platforms and then the next room takes it further with more moving platforms (remember that you can walk in the water before you've picked up the cake).
Getting to the end of the bootcamp will reward you with a large gem that is used to open up the next section of the Eternal Archives so you can go to more levels. It is possible to complete all three of a Bootcamp's stars in one go, combined with the lack of any hats it means there's no need to go back again later unless you want to play as that villain again.
Comments


All off-topic comments will be deleted. Please do not use the comments system for conversations, instead use the provided forums for the game.
Please login or register a forum account to post a comment.
 darkspyro
 net
net