
- 12:30

-
-
Chapter 19: Darklight Crypt
Haunted Courtyard
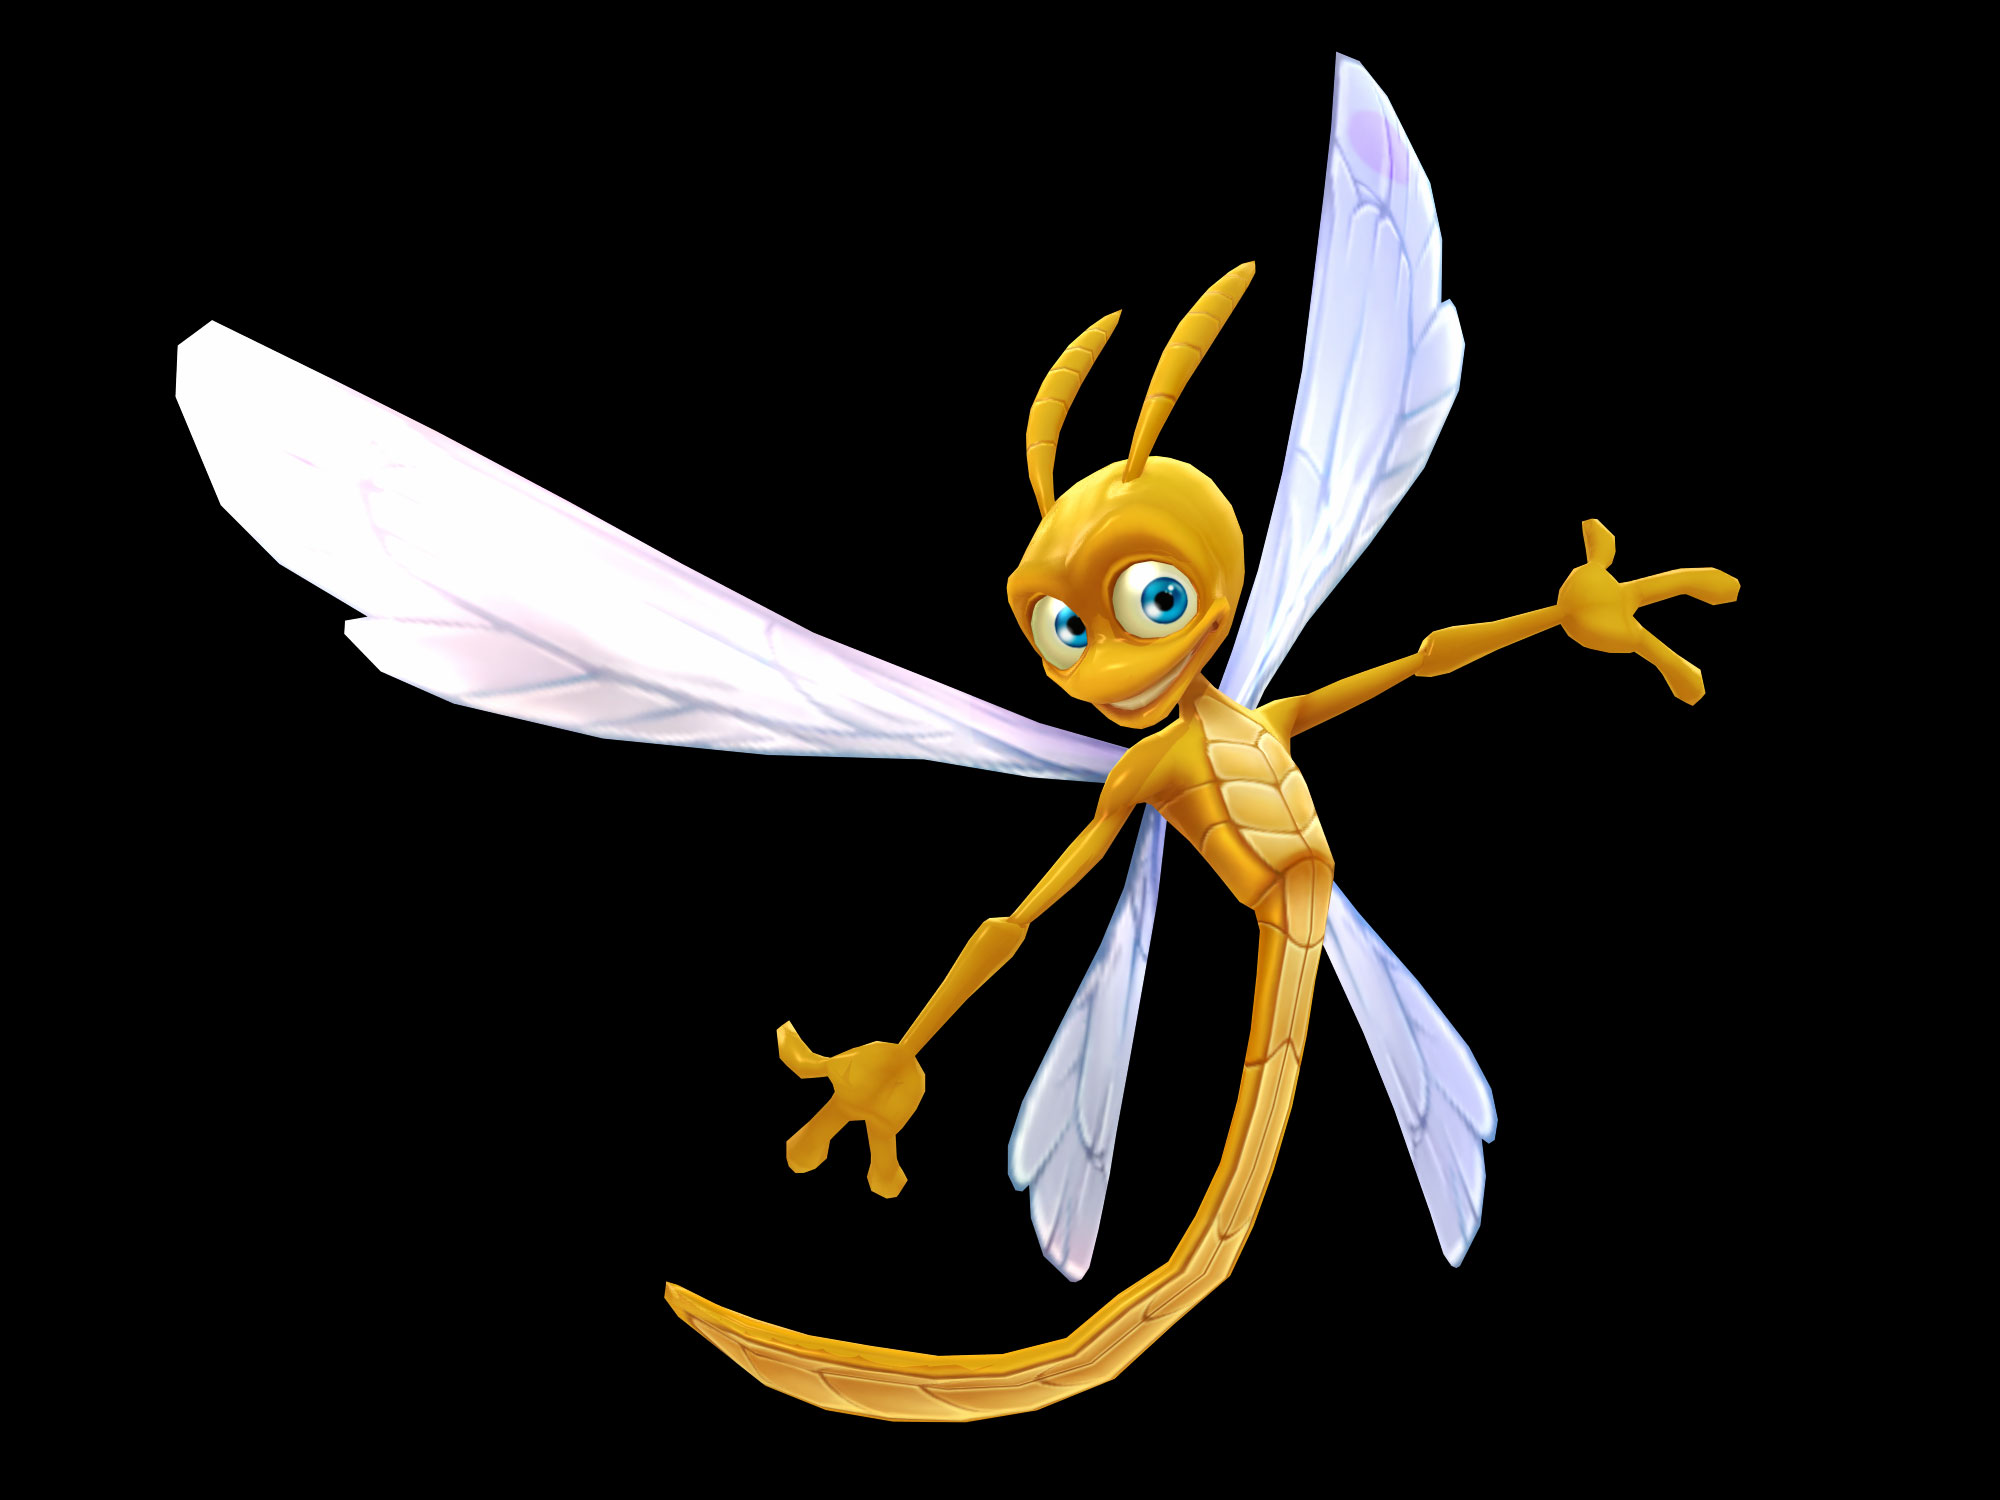
The game will introduce you to the level's unique mechanic, switching between the Real World and the Ghost World. This will be used extensively throughout the level to solve all of the obstacle puzzles.
You start off in the real world but there's nothing you can do really so go straight over to the Spectral Shifting Platform and switch to the Ghost World. If you didn't destroy the red flowers while in the Real World you'll see the Trog Pinchers. Note that you only get experience from killing an enemy if they're alive at the time, so destroying the flowers in the Real World will net you nothing, not even Enemy Goal credit.
In the Ghost World the big door is wide open, go through it and kill a few more Trog Pinchers that approach. Continue forwards, past a couple of coins floating in the air on the left, to a bend in the path where you meet Occulous. Carry on along to the right where you can drop down next to a moveable block.
Push the block two spaces north into the gap. There's a Shadow Duke here, in the Real World it's a harmless suit of armor, but obviously that's no use to you so kill him here in the Ghost World before switchinf to the Real World with the Shifting Platform next to him.
The blocks that were blocking your way to the right are now hanging in the air, run quickly underneath them or they'll squish you. If you go past the Shifting Platform and follow the path down to the right you'll find the Story Scroll. Once you've got that head back up to the row of blocks again.
Switch into the Ghost World and kill the Shadow Dukes (unless you smashed the armor in the real world of course) Go left and up the steps, cross over the stone blocks and go north towards a large open gate, ignore the gate though and continue going left, you should walk over the block you pushed into position earlier now. At the end of the path you'll find a translucent chest, a sign that you need to be in the Real World, luckily there's a Shifting Platform right next to you. Shake open that Treasure Chest and then switch back into the Ghost World. Go back along the path you just came from and go through that large door you ignored.
There's a Shadow Duke there as well as a new variety of lock puzzle. Instead of just the green Lockmaster Imp you have to contend with a red fiery imp too. It acts just like the green one and will fall as you'd expect when you rotate the puzzle but it doesn't unlock things and if the green imp crosses paths with it you have to start over. Perfect in 8.
Left x 3, Right x 5
The Dark Labyrinth
On the other side of the gate is a load of Trog Pinchers and a few Shadow Dukes. Go down the steps past a dead tree and through an open gate to a Shifting Platform, go into the Real World. The open gate you just went through is now a locked gate and you can now push the blocks to the south. Push the first one down once and then the one to the left left twice. Go through the gap and then push the next block left three times. The block north of your position should be pushed up three times to get to a bounce pad. Bounce up onto the blocks and go left, go up the steps and push the block at the top off, this will open up a Fire Gate.
Forest Walk
For some reason it's gone dark here, kill the Chompies and the Chompy Pods spawning them, walk along the corridor until you get to a couple of blocks that vanish when you bump into them. Just beyond them is a button to stand on, a little further than that is a Bark Demon. These are large enemies that look like dead trees in the real world. There's a block in the wall on the south side a couple before the end that does the same. On the other side of it is another Bark Demon. On the southern edge of the room is a single pushable block, push it down twice and then left off the edge twice.
Push the block to your right in so that you can get into the room behind it, kill the Chompies and the Chompy Pod before pushing the block back out and then to the left over the blocks below. Step onto the button, although you won't actually be able to see it thanks to the darkness it does open up another part of the gate in the middle.
Return to the central area and brush against the northern wall, just to the right of the button you should find a block that vanishes. Kill the Chompies and the two Chompy Pods in here, to the left is a Treasure Chest. Along the right wall in the corner is another block that vanishes, push the block behind it down once and then right three times so that it falls in a hole. Stand on the button to finish opening the middle gates. Kill the Bark Demons and claim the Present with the
To exit just walk back down the main corridor and teleport out.
Collect the key and go back down the steps, push the block right twice to get back to the bounce pad which you can now use to get up onto the blocks again and this time go right, unlock the door and you'll go through to where there are some Bark Demons in place of the dead trees.
The Parapets
Head right along a brick path underneath some hanging blocks, these will lower as you pass so keep on moving until you get out the other end onto a bit of grass. Kill the Bark Demons, the Chompies and the Chompy Pods to open up the Monster Gate behind which you'll see a row of blocks lowering and raising all by themselves. Spooky!
Ideally you'd run through when they all move together but you can go through bit by bit waiting for the next in line to rise up. At the end there's a closed gate, go up the steps and on top of those very same blocks all the way back along them to a Shifting Platform. Go along the blocks and through the now open gate where you'll immediately want to go back to the Real World using the Shifting Platform to the south.
There's another (shorter) line of green blocks to get through but once you've done so climb up the steps to a cannon, fire it at the moving blocks, ideally when they're all in a single line. Go back to that last Shifting Platform and reenter the Ghost World. In the Ghost World walk over the smashed blocks and approach the Lock Puzzle to the north. Perfect in 6.
Left x 2, Right, Left, Right, Left
Haunted Village
Step into the first house.
Coffin House
Kill the Trog Pinchers in here, there's not much else other than Lugubrious and some coffins to smash. Go outside.
After speaking to Gallant walk forwards and up to another Lock Puzzle, this one's optional though as behind it all you'll find is a few coins. Perfect in 18, just make sure to wait for the red imp to finish moving each time.
Left x 2, Right, Left x 5, Right, Left x 2, Right, Left x 2, Right x 4
Go inside the house to the left of Gallant, the one near to Arcane.
Haunted Inn
Use the Shifting Platform at the far side of the room to get into the Real World. Go back outside and kill the Stump Demons that have come alive out here, once they're dead go back in and go back to the Ghost World. You should find that the dead trees that were blocking your way in the Ghost World are now gone.
While in the Ghost World go into the final house beyond those now gone trees.
Ghostly Abode
There's a Lock Puzzle in there that'll let you access a Treasure Chest. To open the lock you need to be in the Ghost World but to open the chest itself you need to be in the Real World so go back out and to that previous house to switch again once you've solved it. Perfect in 20.
Left x 7, Right x 3, Left, Right x 6, Left x 2, Right
Hedge Maze
In the Real World go down the long path out of the village and down into the maze, push the right-hand block forward twice to get around it. Next to the locked gate ahead you'll see another moveable block, push it left twice to get past and into a hedge lined path with a Chompy Pod in the way, kill that and the next before winding your way up to a teleporter at the bottom of the Lighthouse, it'll take you up to a key. Teleport back down and go off to that locked gate you passed by near the blocks.
Use the Shifting Platform on the other side and go north to some Haunted Knights, to the left of them is a block you can push. Push it up once and then work your way around by going right and through an open gate, kill the Haunted Knights that attack. Push that block left twice and then down twice so that it drops into a hole. Go back to the previous Shifting Platform to return to the Real World and go through the gap you just created, if you go left at the point where you pushed the block into the hole you'll find the last Treasure Chest next to a Bark Demon. Cross over the block to kill a Stump Demon and grab the first key.
Again return to the Shifting Platform and enter the Ghost World. Head back out of the gate you just unlocked and then to the right through the open gate (in the Ghost World). There's a few more Haunted Knights in here as well as a teleporter that you can't use in the Ghost World, so use the Shifting Platform that's also in here to return to the Real World.
Kill that Bark Demon that springs to life and then use the teleporter. This will take you over to some steps, go down them and kill the two Bark Demons that you find, you'll also find the second of the three keys. Down from there you'll see a block that you can push to the left, push it twice and you'll find yourself near the triple locked gate. Go left and grab the key floating next to it. Open that gate.
Beyond the Maze
A simple process, just approach the green things and they'll move out of the way. Keep heading forwards all the way to the boss (ignore the middle bit for now). If some of them fail to open then turn around and keep trying, walking slowly towards them to try to trigger them to open. It should eventually open and let you through.
Go left and use the Shifting Platform next to the ghost to enter the Ghost World. Gallant will tell you how to damage Occulous. Simply run around the arena to the purple pole thing and rotate it. This will pull Occulous fully into the Real World where you can use the cannons on him now. He'll unleash a few Bark Demons on you and start an attack that slowly circles the area. Once he stops firing you should go back to the Shifting Platform and repeat this process for a total of three cannon blasts.
Hidden Nook
Don't talk to Gallant right away, instead go to the right to where you first entered the boss area, you should find a bounce pad on the ground that'll let you get back up to the path where those green blocks were, some of them are gone now and in the middle you can now walk off to the right and pick up a present with a Pumpkin Hat inside. That's it for the level, go back and talk to Gallant to finish it off. Batterson's promise of pies actually works this time, levels will now have extra food in them.
Comments


Activision has been doing their homework


All off-topic comments will be deleted. Please do not use the comments system for conversations, instead use the provided forums for the game.
Please login or register a forum account to post a comment.
 darkspyro
 net
net