
- 11:15

-
-
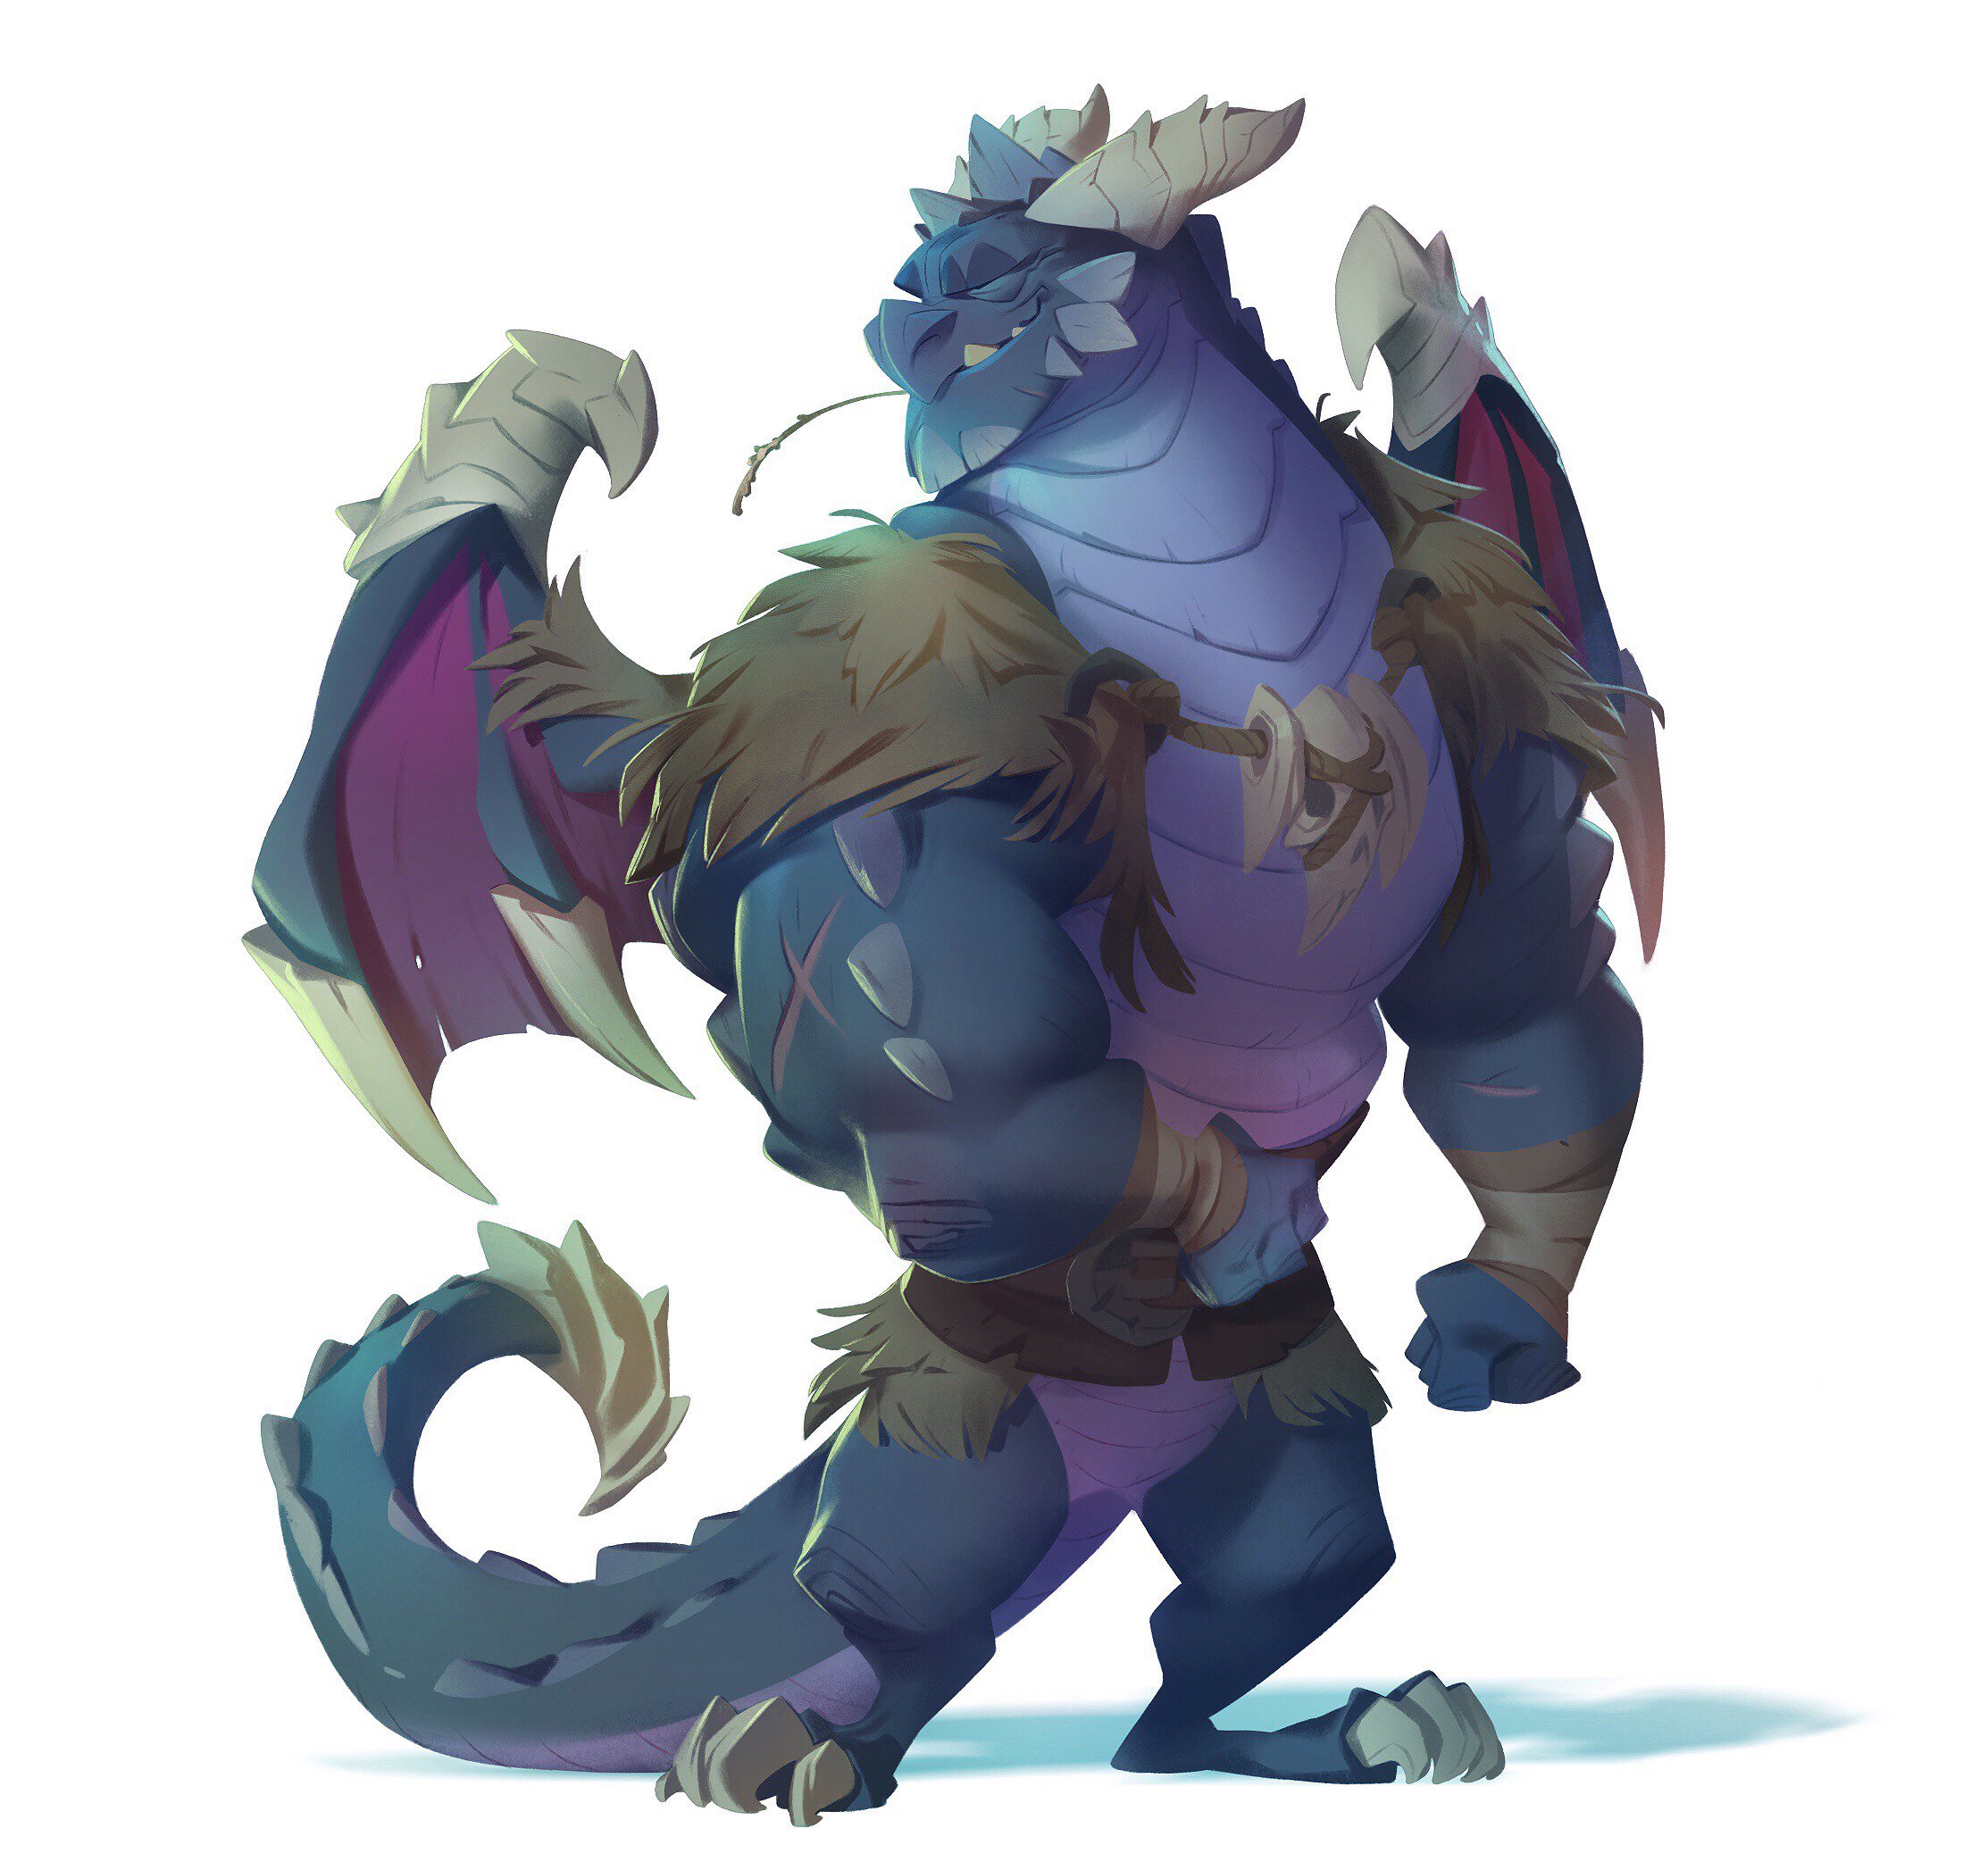
Chapter 7: Wilikin Village
Isle of the Wilikins
Pass by the trio of lifeless dolls and on the left is a large cardboard picture of a wall, smash it down and pick up the Treasure Chest. On the right next to another couple of the dolls is a switcher to activate. This takes you into the Wilikin World, a mechanic similar to the one in Darklight Crypt.
Go back towards Flynn and Cali, to the right of them is a bridge that you can cross to collect the Winged Sapphire.
Facadeville
Cross over the bridge into the town and some Chompies and Mace Majors will attack. Once you've killed them a bounce pad appears. But first time to explore the village.
The Abandoned House
First building on the left, this one's all but empty.
Doll Day Care
Second on the left, there's three Wilikins to talk to in here but nothing else of interest.
Rutherford's Game Room
Third on the left, you need to beat Rutherford at a game of Skystones in order to open up the gate and earn a key. He has "Frigid Chompy 2", "Chompy 2", "Spiderlings 3", "Enfuego Chompy 2", "Life Spell Punk". You'll win the Life Spell Punk stone when you beat him.
Carlton's House
First on the right, two Wilikin to talk to.
Hamilton Landing
Second on the right, another two Wilikin inside.
Helena's Home
Third on the right, there's a Lock Puzzle in here. Perfect in 23.
Left x 2, Right, Left, Right x 4, Left, Right x 3, Left x 6, Right x 4, Left
There's a second Wilikin to talk to on the other side as well as a Treasure Chest.
Stephanie's House
There's another two Wilikin in the house at the end.
If you bounce up using the bounce pad that appeared after you killed those enemies earlier then you can enter the last house of the village.
Catherine's Home
Catherine in here wants to play Skystones with you, this is one of those optional ones that gives no reward except some coins or a random Skystone. Her deck consists of 2 "Drow Archer 3" and 3 "Bark Demon".
Now that you've been in all the houses you can go get that second key, use the switcher in the middle of the village and then bounce back up next to Catherine's House again, this time the wall on the left is made of wood so you can smash through it. Take the key to the right side of the village and open up the gate.
On the right is an earth zone.
The Mud Flats
You need to stay with an Earth Skylander for this one, the place is full of rocks but there's no Pick to smash it with. Instead use your Earth Skylander's attacks and break through to the Present with the "Toy Soldier Hat" inside.
Still in the real world, smash through the wooden brick wall and kill all the Enfuego Chompies on the other side. After that use the switcher on the left to get into the Wilikin World. This will let you use the bridge ahead.
Planer Plateau
Use the switcher to the right, near a large metal covering on the wall. A little further on you'll find the Story Scroll. After that smash through the wooden wall by the switcher, there's a large rolling bomb behind there. Push it towards the metal covering next to the switcher. You can go inside the cave but there's nothing that you can do yet.
Instead push another bomb to the left and blow up the covering near to the bridge you used before. Go up the slope behind it to a large area above where there's a Bark Demon, a load of Chompies and a Root Runner. If you don't want to bother with the Bark Demon you can simply use the switcher behind it and then in the real world it's much easier to destroy.
Using a Giant pick up the boulder in the middle of the area, underneath is a hole you can drop through.
The Wing Caves
Directly ahead there's a Treasure Chest, if you go to the bottom corner of the platform you'll find a bounce pad, this will take you across the divide to the level's Luck-O-Tron Wheel of Wealth.
If you're still in the real world then the blue dots running along the floor will heal you, if you're in the Wilikin World they'll be red and hurt you. So drop down careful to avoid them if they're red, exit through the entrance. There is a Wilikin at the entrance that you'll want to talk to. What happens if you didn't blow up the exit earlier? Nothing. It gets destroyed automatically.
Go back up and go to the Wilikin World. Step onto the lift.
The Cliffside Path
Now for some patient waiting, although if you're lucky you can just drop off the lift straight on top of the first set of blocks. The first pattern is fairly simple, the two either end will raise, the two in the middle will raise, the two at the ends will lower, wait under the middle ones, then the two at the ends will raise again and let you out.
In the alcove between the first and second set of blocks is a Treasure Chest. The second set is just a pair so run through as soon as they both go up. The third set is four again, these will raise and lower in alternating pairs, you can use the alcove to get out of their way if you find yourself with a block coming down onto your head.
Drop off the end and you're in a fight. A Grenade General will be introduced, these guys throw grenades at you. They'll roll along the floor towards you and explode for a fair bit of damage so try to avoid standing close when they detonate. Once you've killed all the enemies a bounce pad will appear.
The next set of blocks while it looks like it's nine blocks it's actually two sets of four with one stationary one in the centre. Use that to help time your run through. Before you push the stone blocks off if you have a Giant go up the ramp at the back, use it to get on top of the moving blocks and walk along them to the left (try to avoid walking on them while they're actually moving, you can fall through them).
From the end step down onto the grassy platform behind and make your way to the right. Using your Giant pick up one of the boulders and then collect the Legendary Treasure "Eagle Engine". Drop down, hit the switcher and enter the cave below.
If you don't have a Giant available then just push off the blocks to the right of the ramp. Cross over them and start a run under a row of seven blocks. There's no safe block this time but it's a lot easier to run through in one go. Use the switcher and go inside the cave.
Roc's Elbow
There's a Wilikin to talk to at the start so maybe you'll actually want to be in the Wilikin World to begin with. Go through the blue magic to the other end of the cave.
The Perilous Coil
Go up the ramp to the right and use a Giant to lift some logs.
Logger's Ascent
There are some pictures of trolls at the end, smashing them while they're in this state doesn't give you any experience but it does still count towards the Enemy Goal. Either way continue upwards to the left to collect Pop Fizz's Soul Gem "Shake it!". Drop off the side of the cliff.
Push the Megabomb down the hill, you'll squish the enemies that are in your way, and blow up the covering at the bottom. Switch into the Wilikin World using the switcher next to it.
Lower Facadeville
Go explore the houses first.
The Wood Shop
In the left building is where Auric has set up shop.
| Luck-O-Tron Bulb #3 | 2500 |
| Rocker Hair | 600 |
| Eye Hat | 600 |
| Bag O' Boom | 500 |
| Invincibility Power Up | 225 |
| Lock Puzzle Key | 500 |
| Skystone Cheat | 500 |
| Fairy Dust | 50 |
Kate's Keyroom
The middle house has a key and a Wilikin to talk to.
After grabbing that key and heading outside you'll be attacked by a group of Mace Majors and Grenade Generals. Kill them off and pick up the key from the island over the bridge to the left. Kill the next group that jumped in near the locked gate and you'll switch to the real world. A couple of Bark Demons are on the left but first kill the Root Runners on the right to stop them from healing at all. Use the bounce pad to get the final key.
Switch back to the Wilikin World to enter the final house.
Evie's Puzzle Place
Along with the two Wilikin in here there's also a Lock Puzzle. Perfect in 23.
Right x 3, Left, Right, Left x 4, Right x 2, Left x 7, Right x 5
Collect the Present and your Fishing Hat as a reward.
Head outside and use your three keys on the locked gate.
The Green Room
Switch into the real world and then drop down onto the large platform to face the Chompy Mage. Avoid the Enfuego Chompies as much as you can and wait for the Giant Chompy to suck them in, they'll damage it. If you didn't switch into the real world then kill the green Chompies and attack the giant one when you can, when it sucks in air try to stay away as far as possible. Any green chompies left will heal it. After a bit of damage the Chompy Mage will reveal himself.
Time for some spell dodging. The blue stuff will actually heal you but the red hurts. You'll need to keep sharp to step through the waves successfully. After that he'll summon a massive circle of red to wipe you out, luckily you'll be given a device that you can use to switch between worlds at will. Press the use button and the red magic becomes blue magic, a circle of healing.
This switching device will now help you survive the many waves of spell attacks, you'll need to keep switching back and forth between the worlds to stay alive, using it just before a red spell hits you, remember that the blue waves turn red just as the red ones turn blue.
After that he'll turn back into the Giant Chompy form and start running around again. Use the switch to turn the green chompies into red chompies and leave them alive, then when he sucks them in instead of healing he'll get damaged. No need to actually attack him this time.
Another set of magic attacks even more intense than before. After each break in magic make sure to switch back to the world where the chompies are red. He'll eventually die by himself.
Cap'n Flynn's Ship
You now have a brand new mini-game to play on the Dread-Yacht. If you go down the hatch to the left you'll reach the Gun Deck and get to play with a turret. For now you can only play it once, to stop a sheep invasion, but you'll get a new game after each chapter from now on. The gem rewards are a bit pathetic though.
The only other thing new is that Auric has a new Skystone for sale.
| Jawbreaker 3 | 500 |
And that's about it.
Comments
 in the post!


All off-topic comments will be deleted. Please do not use the comments system for conversations, instead use the provided forums for the game.
Please login or register a forum account to post a comment.
 darkspyro
 net
net